The Art of Cake Preservation: Freezing for Future Enjoyment
There's a universally acknowledged truth among cake lovers: few problems are as delightful as having too much delicious cake. Whether it's post-party leftovers, a batch baked with enthusiasm, or simply planning ahead, the dilemma remains: how do you keep that delightful confection from going stale? The answer, unequivocally, lies in mastering the art of freezing. But while knowing how to freeze cake is crucial, it's only half the battle. The true secret to enjoying that cake later, with its texture and taste perfectly intact, rests heavily on expert thawing techniques. No one wants a soggy, crumbly mess after all that effort!
This comprehensive guide will walk you through the precise steps to freeze your cake flawlessly, ensuring it's ready for its grand re-entry. More importantly, we'll delve deep into expert thawing strategies designed to prevent the dreaded soggy texture, guaranteeing every slice is as moist, tender, and flavourful as the day it was baked.
The Foundation: Freezing Your Cake the Right Way
Proper freezing isn't just about throwing cake into the freezer; it's a careful process that sets the stage for future deliciousness. Skimp on this, and even the best thawing methods won't save your cake from freezer burn or off-flavours. Think of it as an investment in future joy.
Prepping Your Cake for the Chill
- Cool Completely: This is non-negotiable. Before any wrapping begins, your cake must be cooled entirely to room temperature. Freezing a warm cake traps moisture, which can lead to ice crystals and an unpleasantly gummy texture upon thawing.
- Whole Cake vs. Slices: The approach varies slightly depending on whether you're freezing an entire cake or individual slices.
- For Whole or Partial Cakes: Freezing a larger portion helps maintain moisture and structure more effectively.
- For Slices: Cutting the cake into desired serving sizes before freezing offers ultimate convenience for individual portions later. This is particularly handy for enjoying a quick treat without committing to thawing a whole dessert.
- Consider the Ingredients: Not all cakes and frostings are created equal when it comes to freezing. While most standard buttercreams, cream cheese frostings, and sturdy cakes (like pound cake, carrot cake, chocolate cake) fare exceptionally well, be wary of delicate meringues, fresh fruit toppings (which can become mushy), or frostings with very high water content, as these might not hold up as well.
The Golden Rules of Wrapping: Your Cake's Protective Armor
The key to successful cake freezing, according to experts like Samantha Merritt, creator of multiple baking resources, lies in meticulous wrapping. This protective layering serves multiple vital purposes: it prevents freezer burn, wards off flavour absorption from other freezer contents, and locks in moisture.
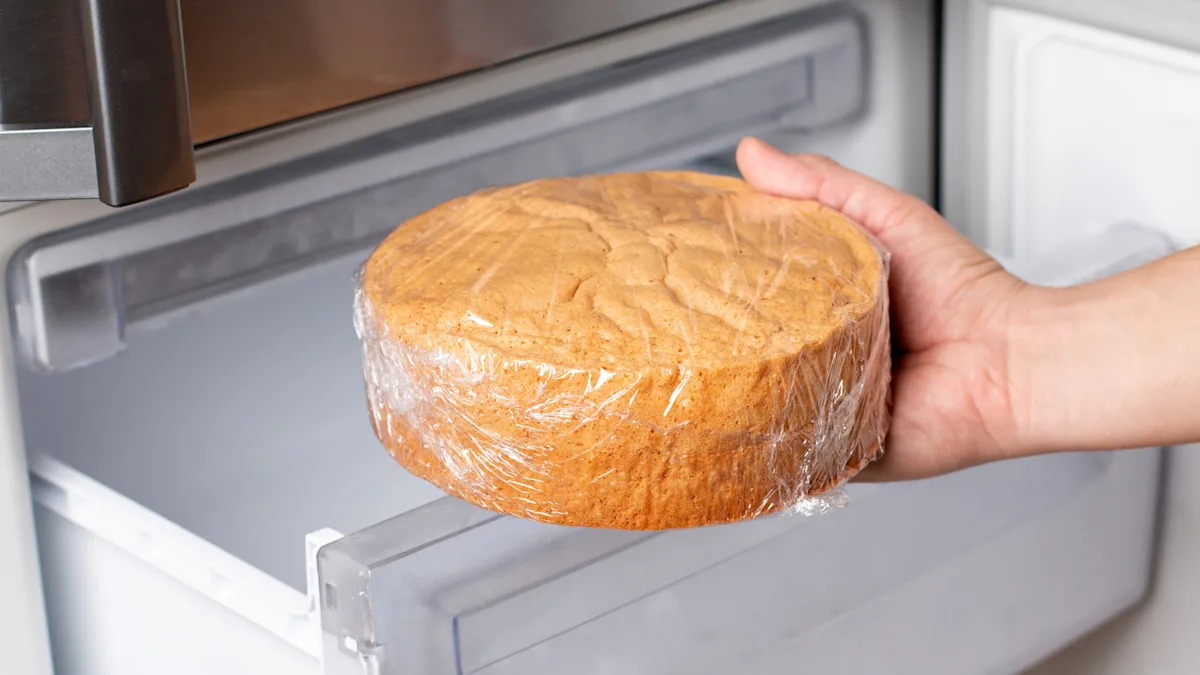
- The Airtight Plastic Embrace: Start by wrapping your cake (whether whole or sliced) in at least two layers of plastic wrap. The critical point here is to ensure the plastic is airtight and in direct contact with the cake's surface. Press out as much air as possible. This initial layer is your primary defence against moisture loss and freezer burn, keeping your cake tasting fresh.
- The Aluminum Foil Shield: Follow the plastic wrap with a layer of heavy-duty aluminum foil. This adds another robust barrier against temperature fluctuations and further protects against freezer burn and external odours. It's like adding an extra layer of insulation to keep your cake cozy in its frozen slumber.
- The Freezer Bag Finale (Optional but Recommended for Slices): For individual slices, once wrapped in plastic and foil, place them into a freezer-safe ziplock bag. This provides an additional layer of protection and makes for easy organization. Don't forget to label the bag with the contents and the date – you'll thank yourself later!
- The Freezer Destination: Gently place your meticulously wrapped cake into the freezer. For optimal preservation, ensure it's placed somewhere it won't be crushed or squashed by other items.
By following these steps, you've laid the groundwork for a perfectly preserved cake. For more detailed insights into long-term preservation, you might find our guide on How to Freeze Cake: Keep it Fresh & Delicious for Months extremely helpful.
Expert Thawing Tips: Avoiding the Dreaded Soggy Cake
You've mastered the freezing. Now comes the moment of truth: thawing. This stage is where many go wrong, often rushing the process or making common mistakes that lead to a gummy, soggy, or dry texture. The primary enemy here is condensation.
The Unwrapping Dilemma: Timing is Everything
Merritt emphasizes a critical point: "As the cake warms, condensation will form on the outside of the wrapping. If you unwrap the cake, the condensation will occur on the cake itself, which can make it gummy or soggy." This insight is gold. The wrapping isn't just for freezing; it's equally important during the thaw.
- Keep it Wrapped: The golden rule for thawing is to keep your cake completely wrapped until it has fully thawed and has reached room temperature. The condensation will form on the wrapping, not on your beautiful cake.
- When to Unwrap: Only remove the plastic wrap and foil once the cake feels soft to the touch and has been at room temperature for a while. This allows any residual condensation on the wrapping to dissipate, leaving your cake dry and ready to enjoy.
The Slow Thaw: Refrigerator vs. Countertop
The speed of thawing plays a significant role in maintaining texture. A slow, gradual thaw is generally superior, especially for larger cakes.
- The Refrigerator Thaw (Highly Recommended for Whole Cakes and Larger Portions):
Merritt explains that keeping the cake in the fridge for a slow thaw is "essential to mitigating condensation and maintaining its texture." This is because a gradual temperature change minimizes the formation of significant ice crystals and reduces the temperature differential that causes rapid condensation. For a whole cake, this can take anywhere from 6-12 hours, sometimes even overnight, depending on its size and density. Simply transfer the still-wrapped cake from the freezer to the refrigerator and let it work its magic. This method ensures the most even thaw and the best texture.
- The Countertop Thaw (Best for Individual Slices):
While the fridge thaw is ideal for larger cakes, individual slices can often be thawed successfully on the counter. Sweetphi suggests about 1 hour for a large slice. Again, keep the slice fully wrapped during this process. A countertop thaw is quicker but can be more prone to condensation if not managed correctly. Ensure your environment isn't excessively humid, and don't unwrap until the slice is fully pliable and has reached ambient temperature.
The choice between refrigerator and countertop thaw largely depends on the cake's size and your desired speed, but prioritizing the slow, wrapped thaw is key to avoiding sogginess and achieving that perfect texture every time. For additional methodologies on this, check out our guide on Preserve Your Cake: Best Freezing & Thawing Methods.
Beyond Thawing: Serving and Enjoying Your Perfectly Preserved Cake
Once your cake has fully thawed and you've carefully removed its protective layers, it's ready for its moment in the spotlight. Here are a few final tips:
- Allow to Breathe: After unwrapping, let the cake sit at room temperature for another 15-30 minutes if possible. This allows any final residual chill to dissipate and brings the cake to its optimal serving temperature, enhancing its flavour and texture.
- Aesthetic Touch-Ups: If you've frozen an unfrosted cake, now is the time to apply fresh frosting. If it was frosted, you might find the frosting looks a little dull. You can gently smooth it with an offset spatula or add a fresh garnish to perk it up.
- Serving: Slice and serve as you normally would. Your guests (and your taste buds) will be none the wiser that this cake spent time in cryogenic suspension!
Conclusion
The journey from fresh bake to future delight doesn't have to end in soggy disappointment. By understanding how to freeze cake with meticulous care—from cooling completely and airtight wrapping to intelligent storage—you lay the groundwork for success. The true mastery, however, lies in the thawing process. Prioritizing a slow, wrapped thaw, especially in the refrigerator for larger cakes, is your ultimate defence against condensation and the secret to maintaining that coveted moist and tender texture. With these expert tips, you can confidently preserve your delicious creations, ensuring every slice, whether eaten today or months from now, is nothing short of perfection.
